
💐 3D⚡WOW SUPERB BEAUTIFUL🌷 MUY BONİTO Super easy useful crochet decorative basket making #crochet
Crocheting is an age-old craft that has seen a resurgence in popularity in recent years. Its versatility and the potential for creating beautiful, functional items have made it a favorite among crafters of all ages. One of the most delightful…
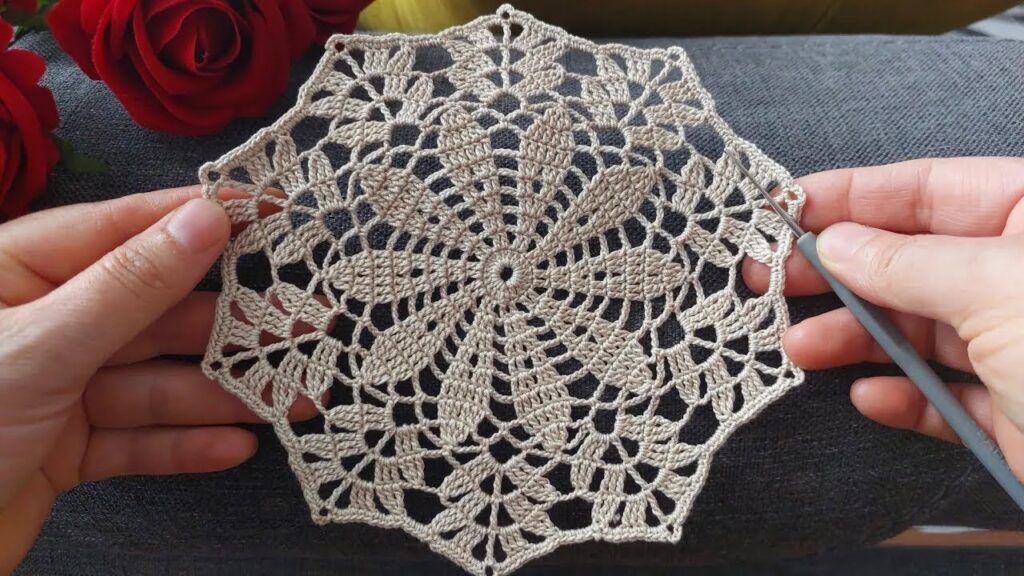
Crocheting is an age-old craft that has seen a resurgence in popularity in recent years. Its versatility and the potential for creating beautiful, functional items have made it a favorite among crafters of all ages. One of the most delightful projects you can undertake is making a decorative crochet basket. These baskets are not only stunning to look at but also incredibly practical for storing various items around the house. In this guide, we will walk you through the process of making a 3D crochet basket that is superb, beautiful, and very easy to create. So, grab your hooks and yarn, and let’s get started! 🧶
Materials Needed
Before we dive into the step-by-step instructions, let’s gather all the materials you’ll need for this project:
Yarn: Choose a thick, sturdy yarn in the color of your choice. Cotton yarn is an excellent option because of its durability and ease of handling.
Crochet Hook: A size appropriate for your chosen yarn. Generally, a larger hook is better for making baskets as it creates a more solid structure.
Scissors: For cutting the yarn.
Tapestry Needle: To weave in the ends and add any decorative elements.
Stitch Markers: Optional, but helpful for keeping track of your rounds.
Step-by-Step Instructions
Step 1: The Base
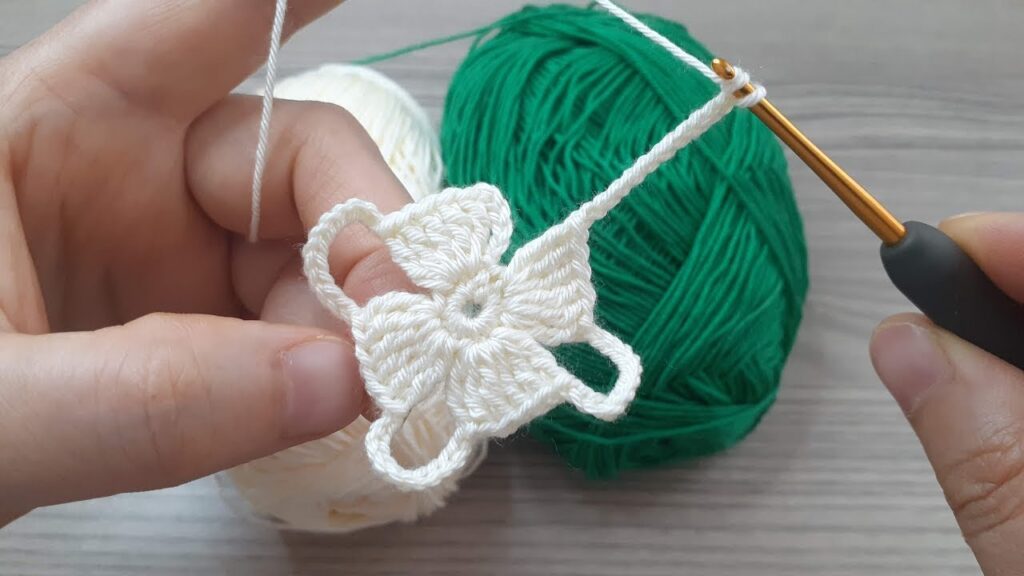
Magic Ring: Start with a magic ring. This technique is ideal for creating a tight, seamless base.
Wrap the yarn around your fingers to create a loop.
Insert the hook into the loop, yarn over, and pull through.
Chain 1 to secure the loop.
Round 1: Single crochet (sc) 6 times into the magic ring.
Pull the tail end to close the ring.
Place a stitch marker in the first sc to mark the beginning of the round.
Round 2: Increase in each stitch around (12 stitches).
2 sc in each stitch from the previous round.
Round 3: 1 sc in the first stitch, 2 sc in the next stitch around (18 stitches).
Round 4: 1 sc in the first 2 stitches, 2 sc in the next stitch around (24 stitches).
Round 5: 1 sc in the first 3 stitches, 2 sc in the next stitch around (30 stitches).
Continue this pattern, increasing by 6 stitches in each round until your base reaches the desired size. For a standard basket, a base of about 6-8 inches in diameter works well.
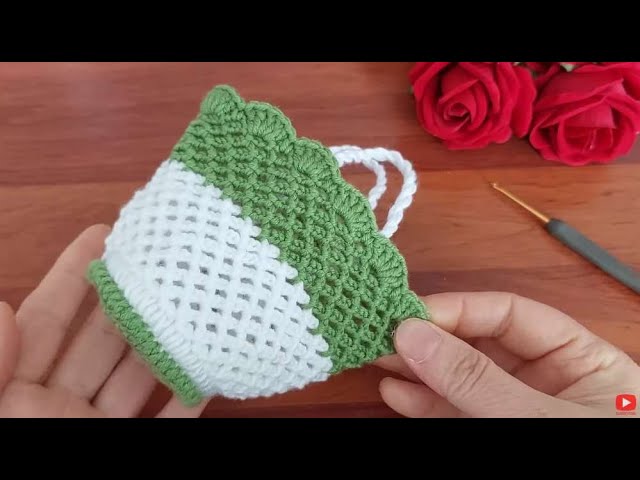
Step 2: Building the Sides
Transition Round: Work one round of single crochet in the back loop only (BLO). This creates a sharp edge and helps the sides stand up straight.
Round 1 of Sides: Single crochet in each stitch around.
Subsequent Rounds: Continue single crocheting in each stitch around until the sides reach your desired height. Typically, 6-8 inches tall is a good height for a basket.
Step 3: Finishing Touches
Final Round: For a sturdy edge, you can work a round of slip stitches or crab stitches (reverse single crochet) around the top edge.
Handles (Optional): If you want to add handles, mark two points opposite each other on the basket.
Chain a desired number of stitches (e.g., 10-15) to create the handle and skip the same number of stitches on the basket.
Attach the handle by single crocheting into the next stitch and continue around.
Repeat for the other handle.
Weave in Ends: Use the tapestry needle to weave in any loose ends. This step ensures your basket looks neat and professional.
Remember to share your finished baskets on social media using the hashtag #crochet so other crafters can see your beautiful work! 🌟
Happy crocheting! 🌸💖
*
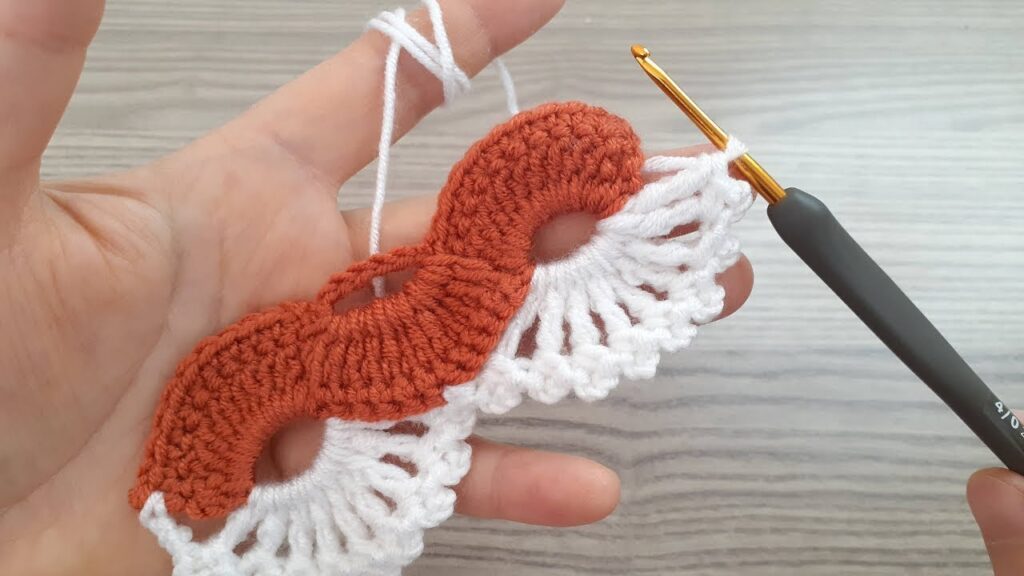
“Easy 3D Crochet Keychains Tutorial”
“DIY Crochet Keychains: Stunning 3D Designs”
“Step-by-Step Crochet Keychain Patterns”
“Creative Crochet Keychains for Gifting or Selling”
“Crochet Keychain Ideas: Perfect Gifts or Crafts to Sell”
“Quick and Beautiful Crochet Keychains”
“Unique Crochet Keychain Patterns for Beginners”
“How to Make Eye-catching 3D Crochet Keychains”
“Crochet Keychain Designs for Every Occasion”
“Handmade Crochet Keychains: Personalized and Chic”
“Crafting Crochet Keychains”
“Easy Techniques and Tips”
*
#crochet
#diy
#handmade
#crochettutorial
#crochetkeychains
#crochetpatterns
#trending
#craftyideas
#crochetart
#crochetcommunity
#crochetforbeginners
İlginizi Çekebilecek Diğer Konular
Henüz yorum yapılmamış.