
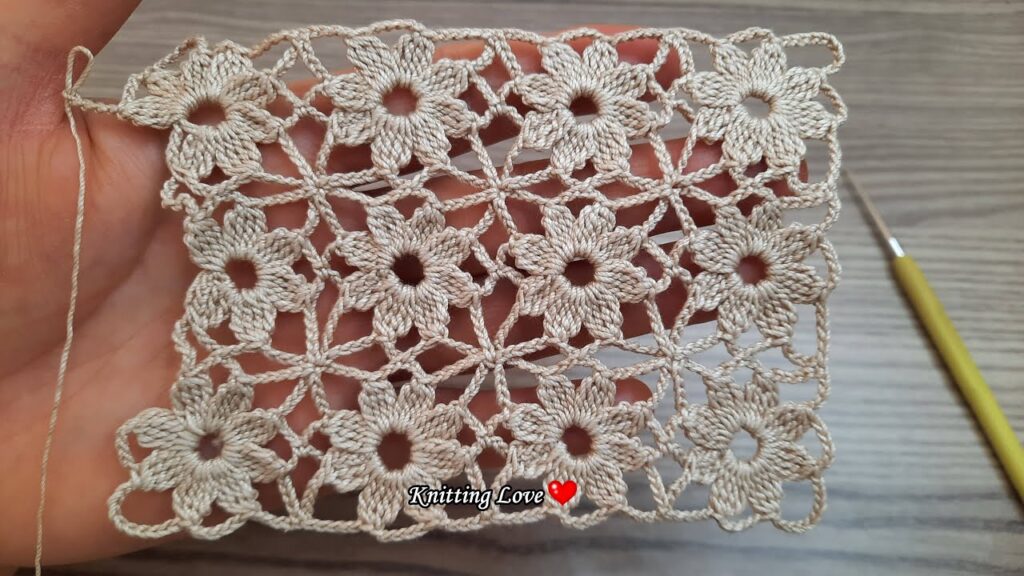
Crafting a Lovely and Simple 🥰 Tutorial for a Decorative 3D Crochet Coffee Coaster
Today, I’ll guide you through crafting a delightful and straightforward project: a 3D crochet coffee coaster! This charming coaster will not only enhance your coffee break but also add a touch of elegance to your home decor. Let’s get started!…
Today, I’ll guide you through crafting a delightful and straightforward project: a 3D crochet coffee coaster! This charming coaster will not only enhance your coffee break but also add a touch of elegance to your home decor. Let’s get started!
Crafting a Lovely and Simple 🥰 Tutorial for a Decorative 3D Crochet Coffee Coaster
**Materials:**
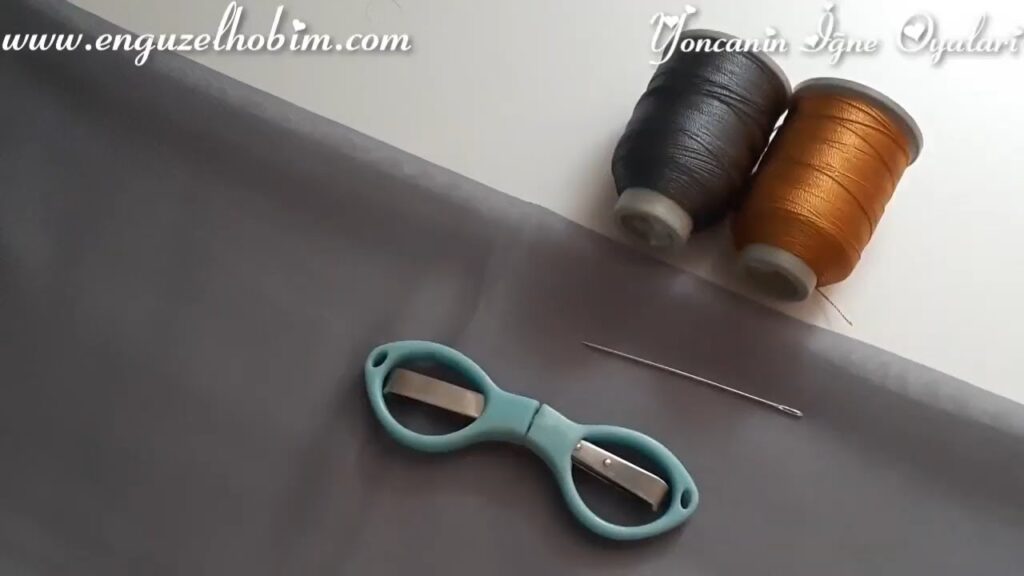
1. Fine crochet yarn (preferably in coffee shades)
2. Crochet hook (appropriate size for the yarn)
3. Scissors
4. Tapestry needle
5. Pillow stuffing or fiberfill
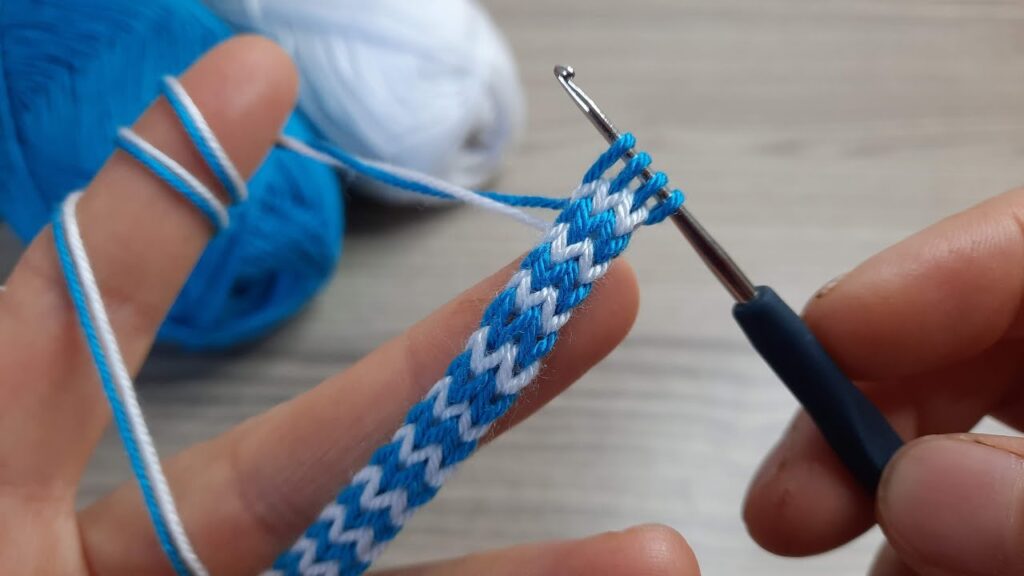
**Step 1: Getting Started**
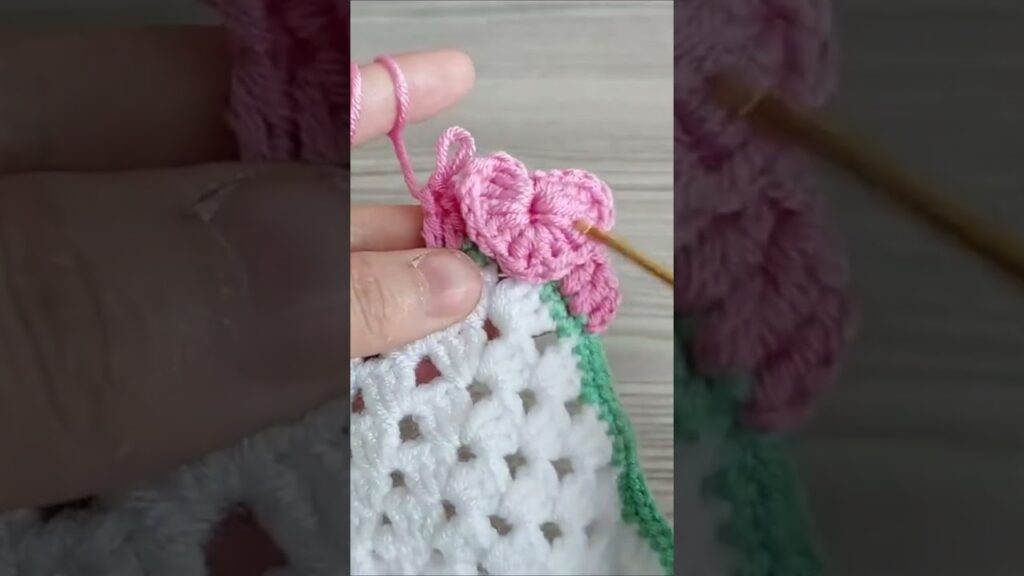
Firstly, tie your yarn to your crochet hook and create a ring by chaining 6 (ch). Fill this ring with single crochet (sc) stitches to form a tight circle. Use a stitch marker to mark the end of each round.
**Step 2: Increasing**
In the second round, increase by working two single crochet stitches into each stitch around until you have a total of 12 single crochet stitches.
**Step 3: Shaping**
Now, we want to widen our coaster slightly outward to form its edges. Work in the pattern of one single crochet, then one increase around in the third round, moving the stitch marker at the end of the round.
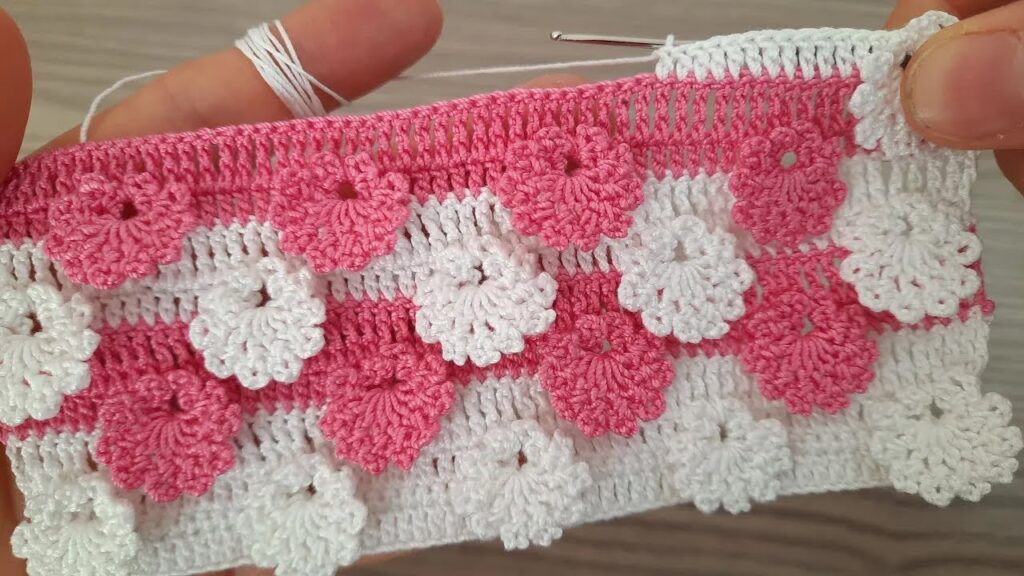
**Step 4: Continuing**
Continue working single crochet stitches to form the base of the coaster. Move the stitch marker at the end of each round and increase as needed to adjust the height and shape of the coaster.
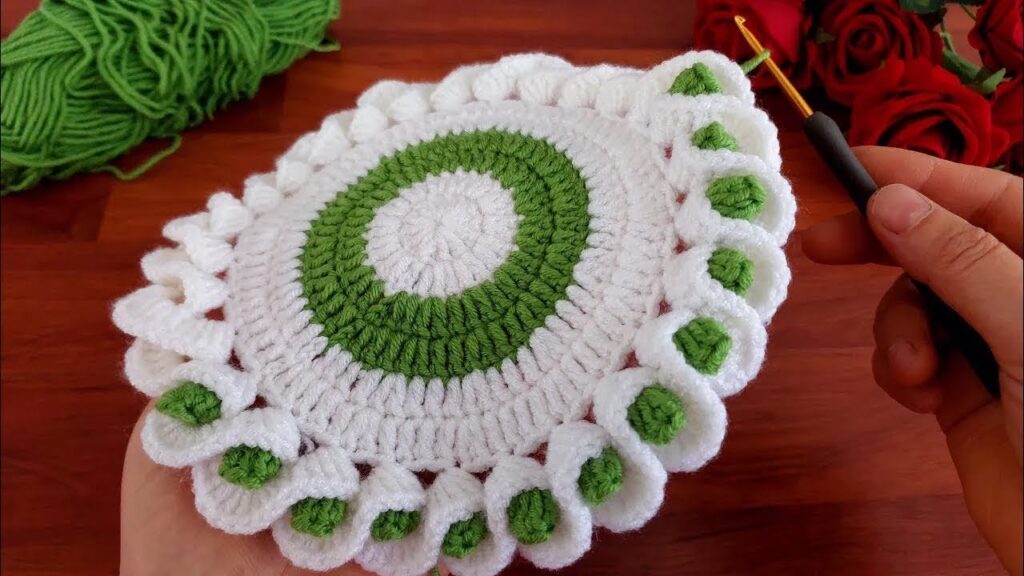
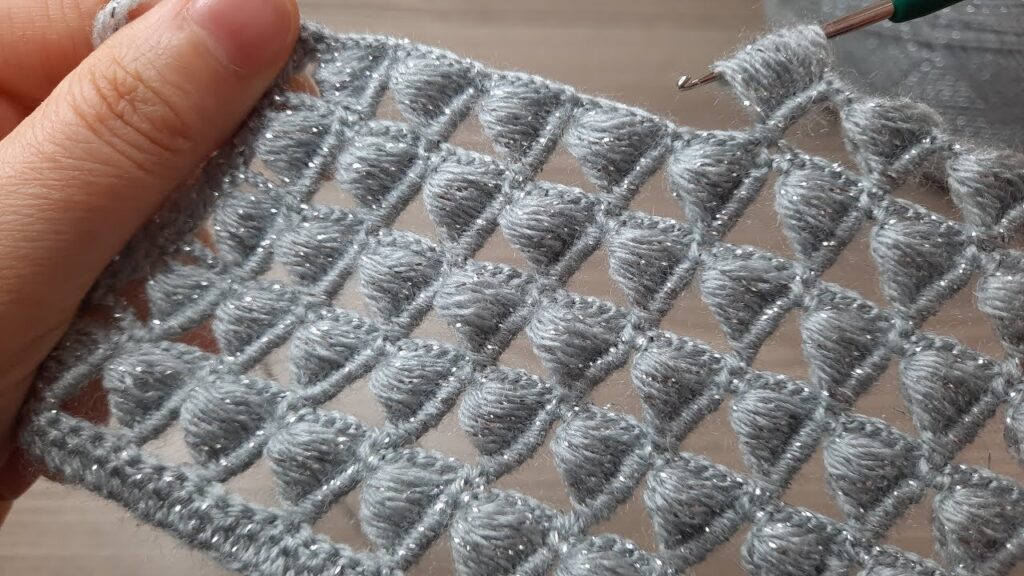
**Step 5: Finishing Touches**
Once your coaster has reached the desired height, work a few rounds of regular single crochet stitches to form a base for the coaster. Remove the stitch marker at the end of the final round.
**Step 6: Finishing Off**
Finally, finish off the coaster by working a few single crochet stitches to close the base. Cut the yarn, weave in the tail using a tapestry needle, and trim.
**Step 7: Stuffing**
Use the pillow stuffing or fiberfill you’ve prepared to fill the coaster. Carefully place the stuffing inside the coaster and distribute it evenly until you achieve the desired firmness.
And there you have it! Your 3D crochet coffee coaster is ready to use! Enjoy using it and adding a touch of charm to your coffee corner at home. I hope you’ve enjoyed this simple and lovely project!
Best regards,
Knitting love
**Tags:** crochet, crafting, DIY, home decor, coffee coaster, crochet tutorial, 3D crochet, handmade, simple crafts, yarn crafts, crochet patterns, easy crochet, decorative, creative projects, cozy crafts.
**Keywords:** crochet coaster tutorial, coffee cup accessory, handmade decor, yarn crafting, crochet design, DIY home accessories, crochet for beginners, decorative coaster pattern, crafting inspiration, creative yarn projects, simple crochet projects, charming decor ideas, easy handmade gifts, crochet techniques, cozy home accents, stylish crafts, crochet home decor, cute coasters, crafting tutorials, beginner-friendly crochet.
İlginizi Çekebilecek Diğer Konular
Henüz yorum yapılmamış.